


The making of
The Polka dot

A glimpse into
THE DESIGN PROCESS
It started, as many of our pieces do, with an interesting, unexpected material. We've always been drawn to glass – the way it catches light, the weight of it in your hand – but we wanted to do something different with it. What if, instead of adding to the surface, we took something away? The idea was simple: buff circles into the glass to create a polka dot pattern. The reality was a little more complicated...
"I'm always drawn to a fresh take on a classic design. The polka dot glass took a lot of back and forth in production, but it's a subtle detail that creates a real point of difference." - Matilda
From the first sketches to the final product, the polka dot collection has been two and a half years in the making. There have been many iterations along the way - samples where the dots were too uniform, too scattered, too many, too few... Getting the polka pattern right took longer than we'd expected.


Three shapes
A TRIO OF LIGHTS
We landed on three shapes: a large pendant for making a statement, a small pendant for clustering or tighter spots, and a flush mount that sits snug to the ceiling. The small and flush are IP 44-rated (a first for us) meaning they're splash-proof and safe for bathrooms and covered porches. Suddenly the places that usually get overlooked in the lighting department (utility rooms, along a hallway stretch, dark corners by the back door) have practical, beautiful options too.
Shop the Collection
POLKA DOT


Pinhole Lampshade, Mini


Double Wall Light, Aged Brass


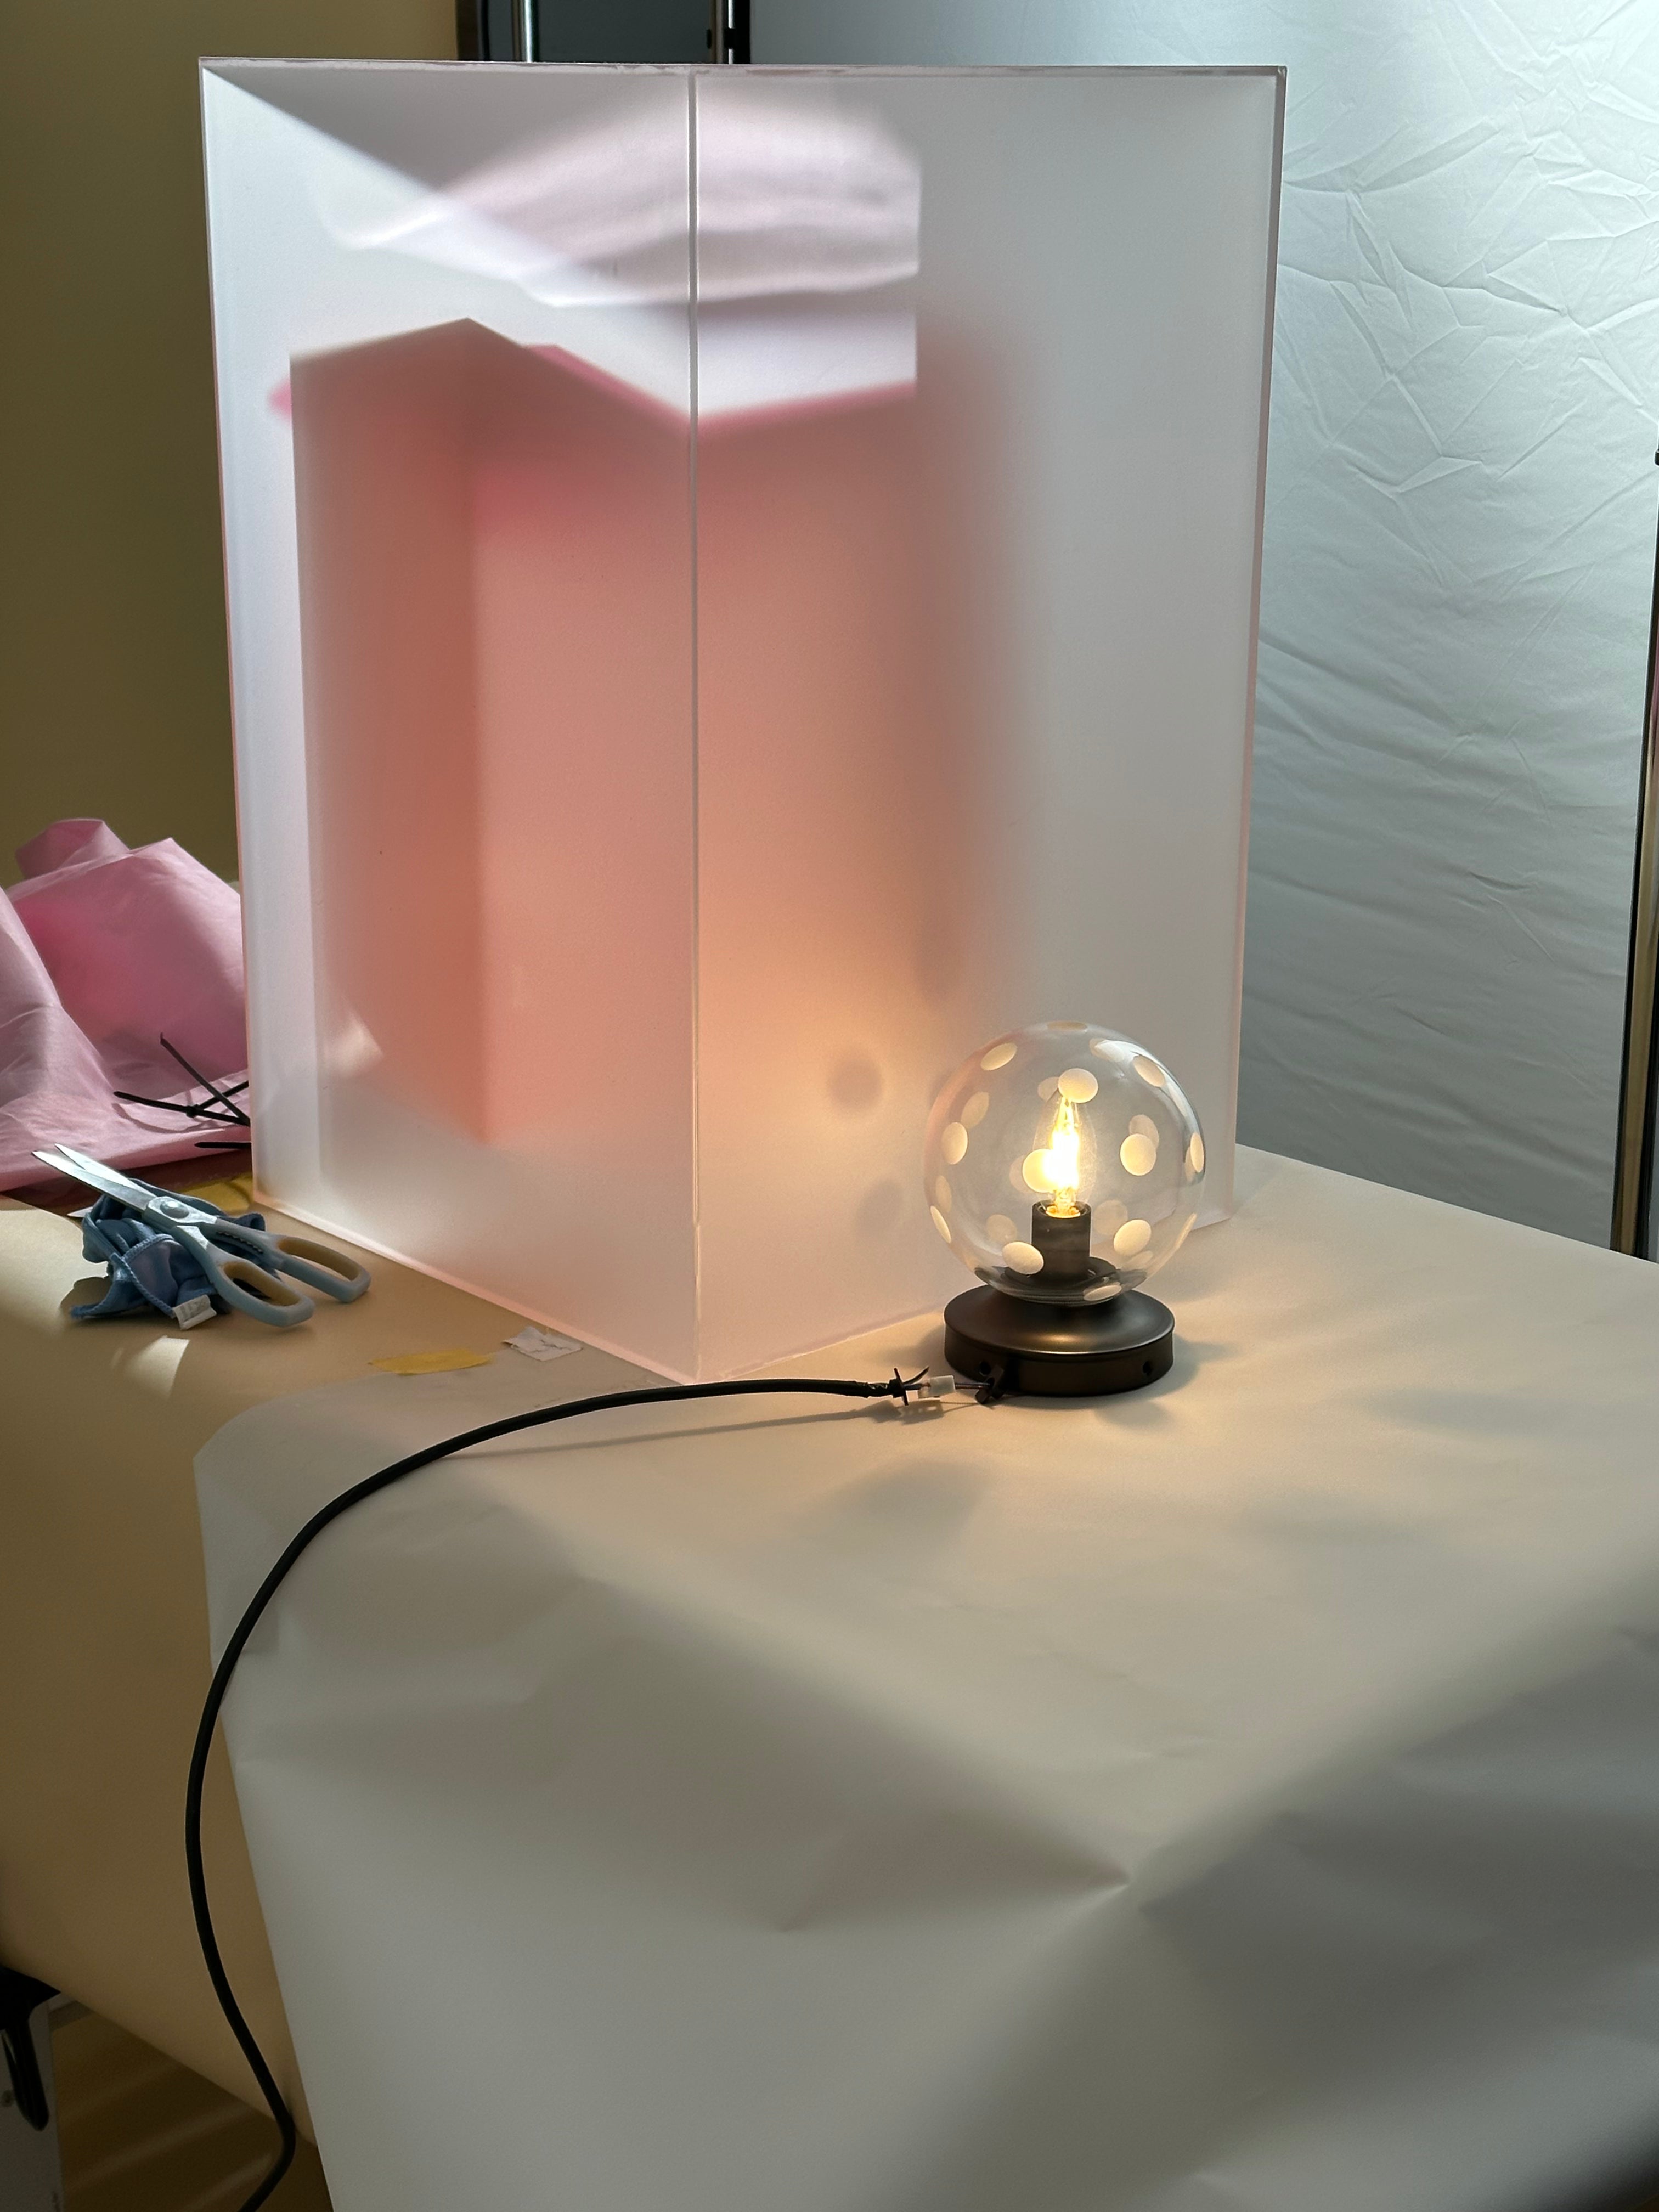
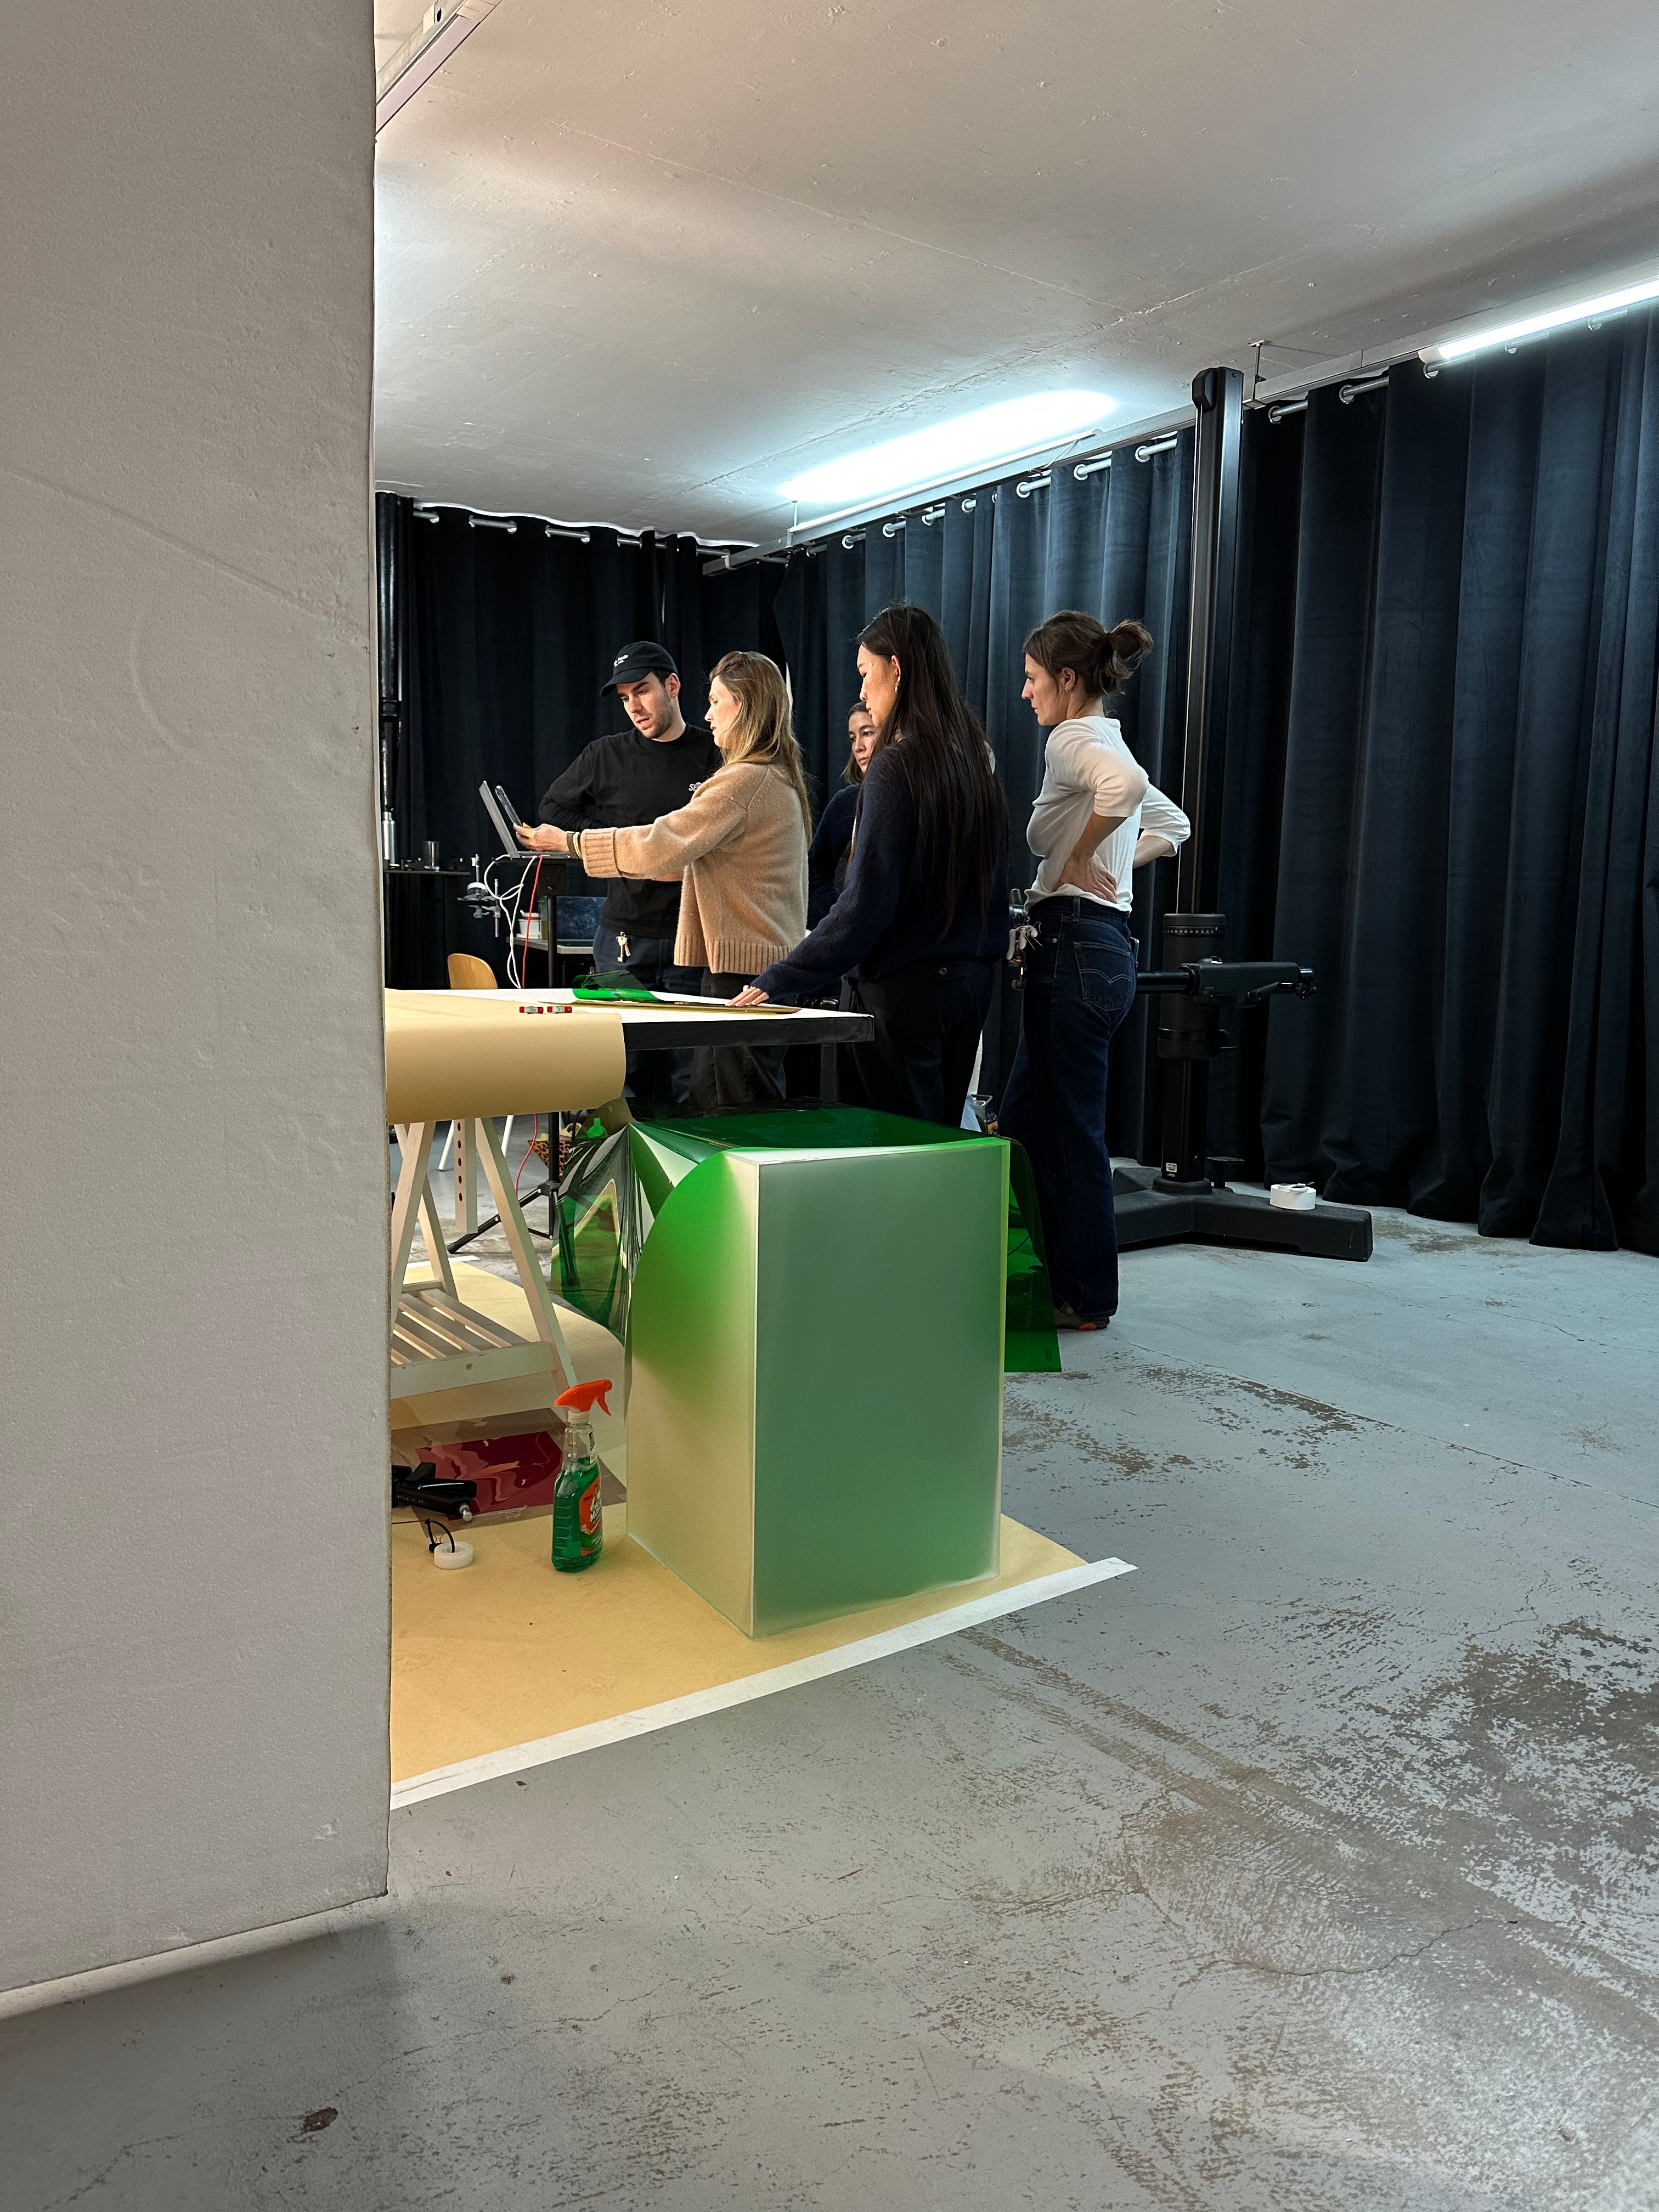
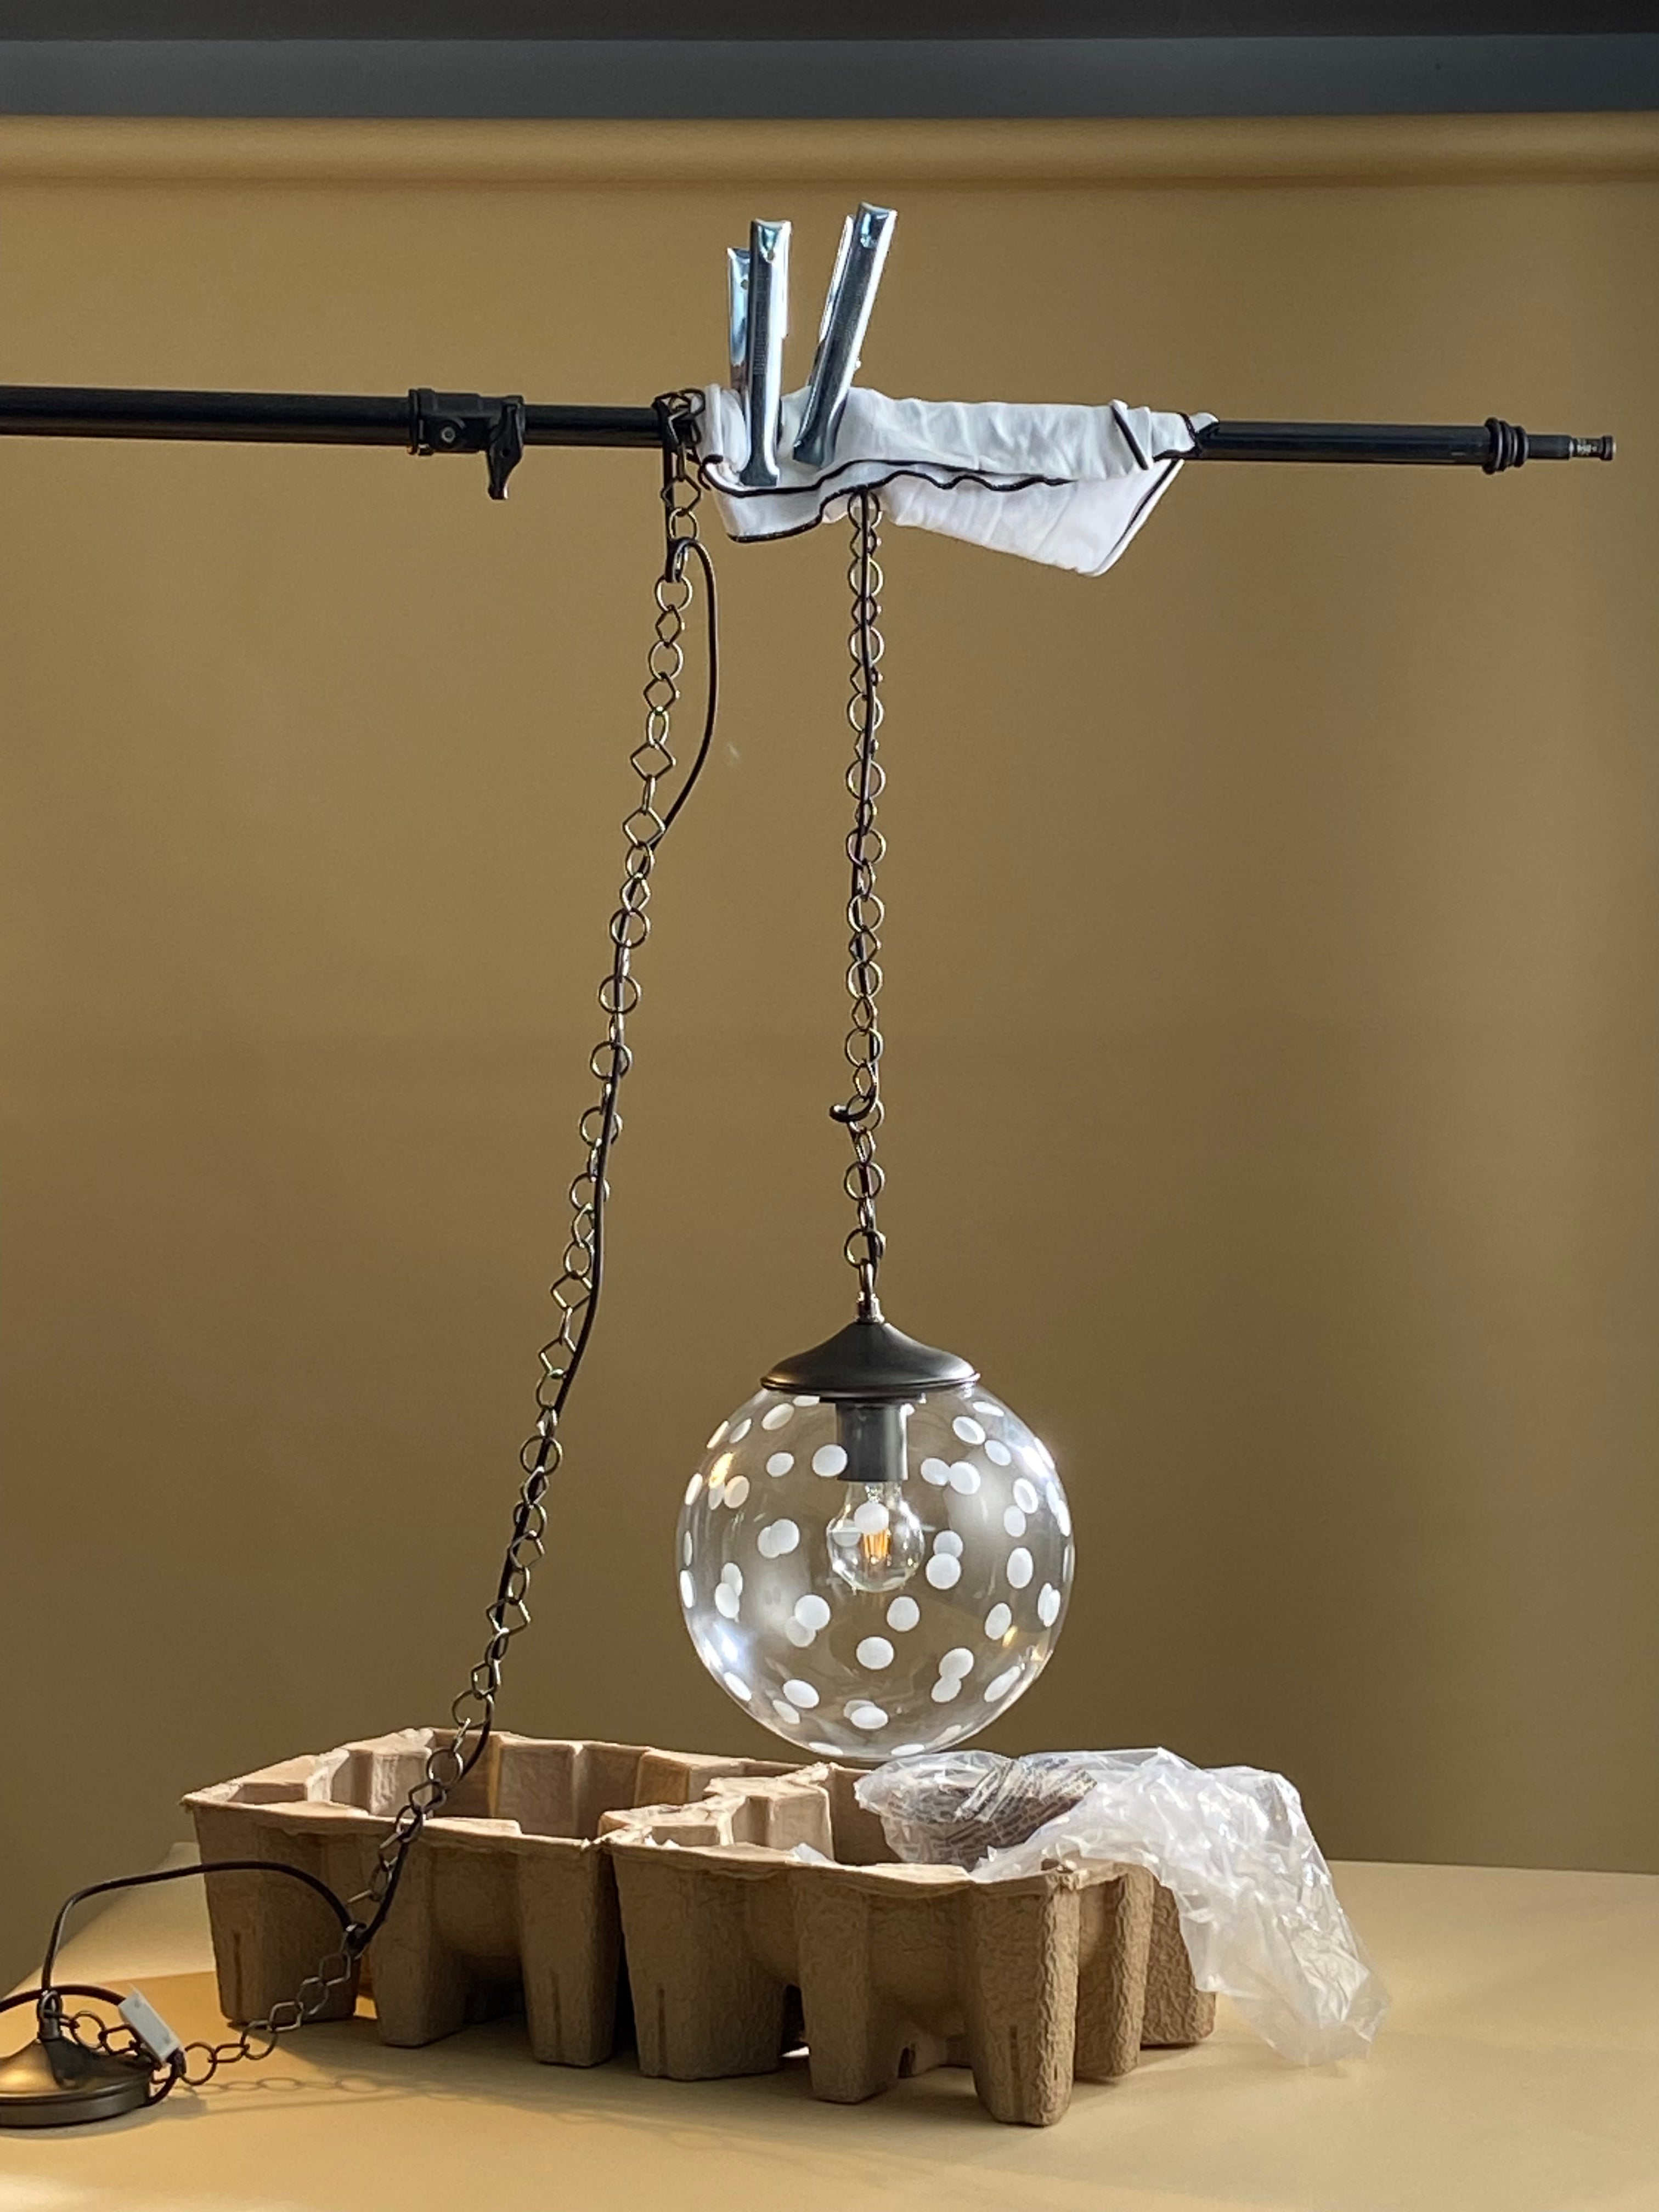
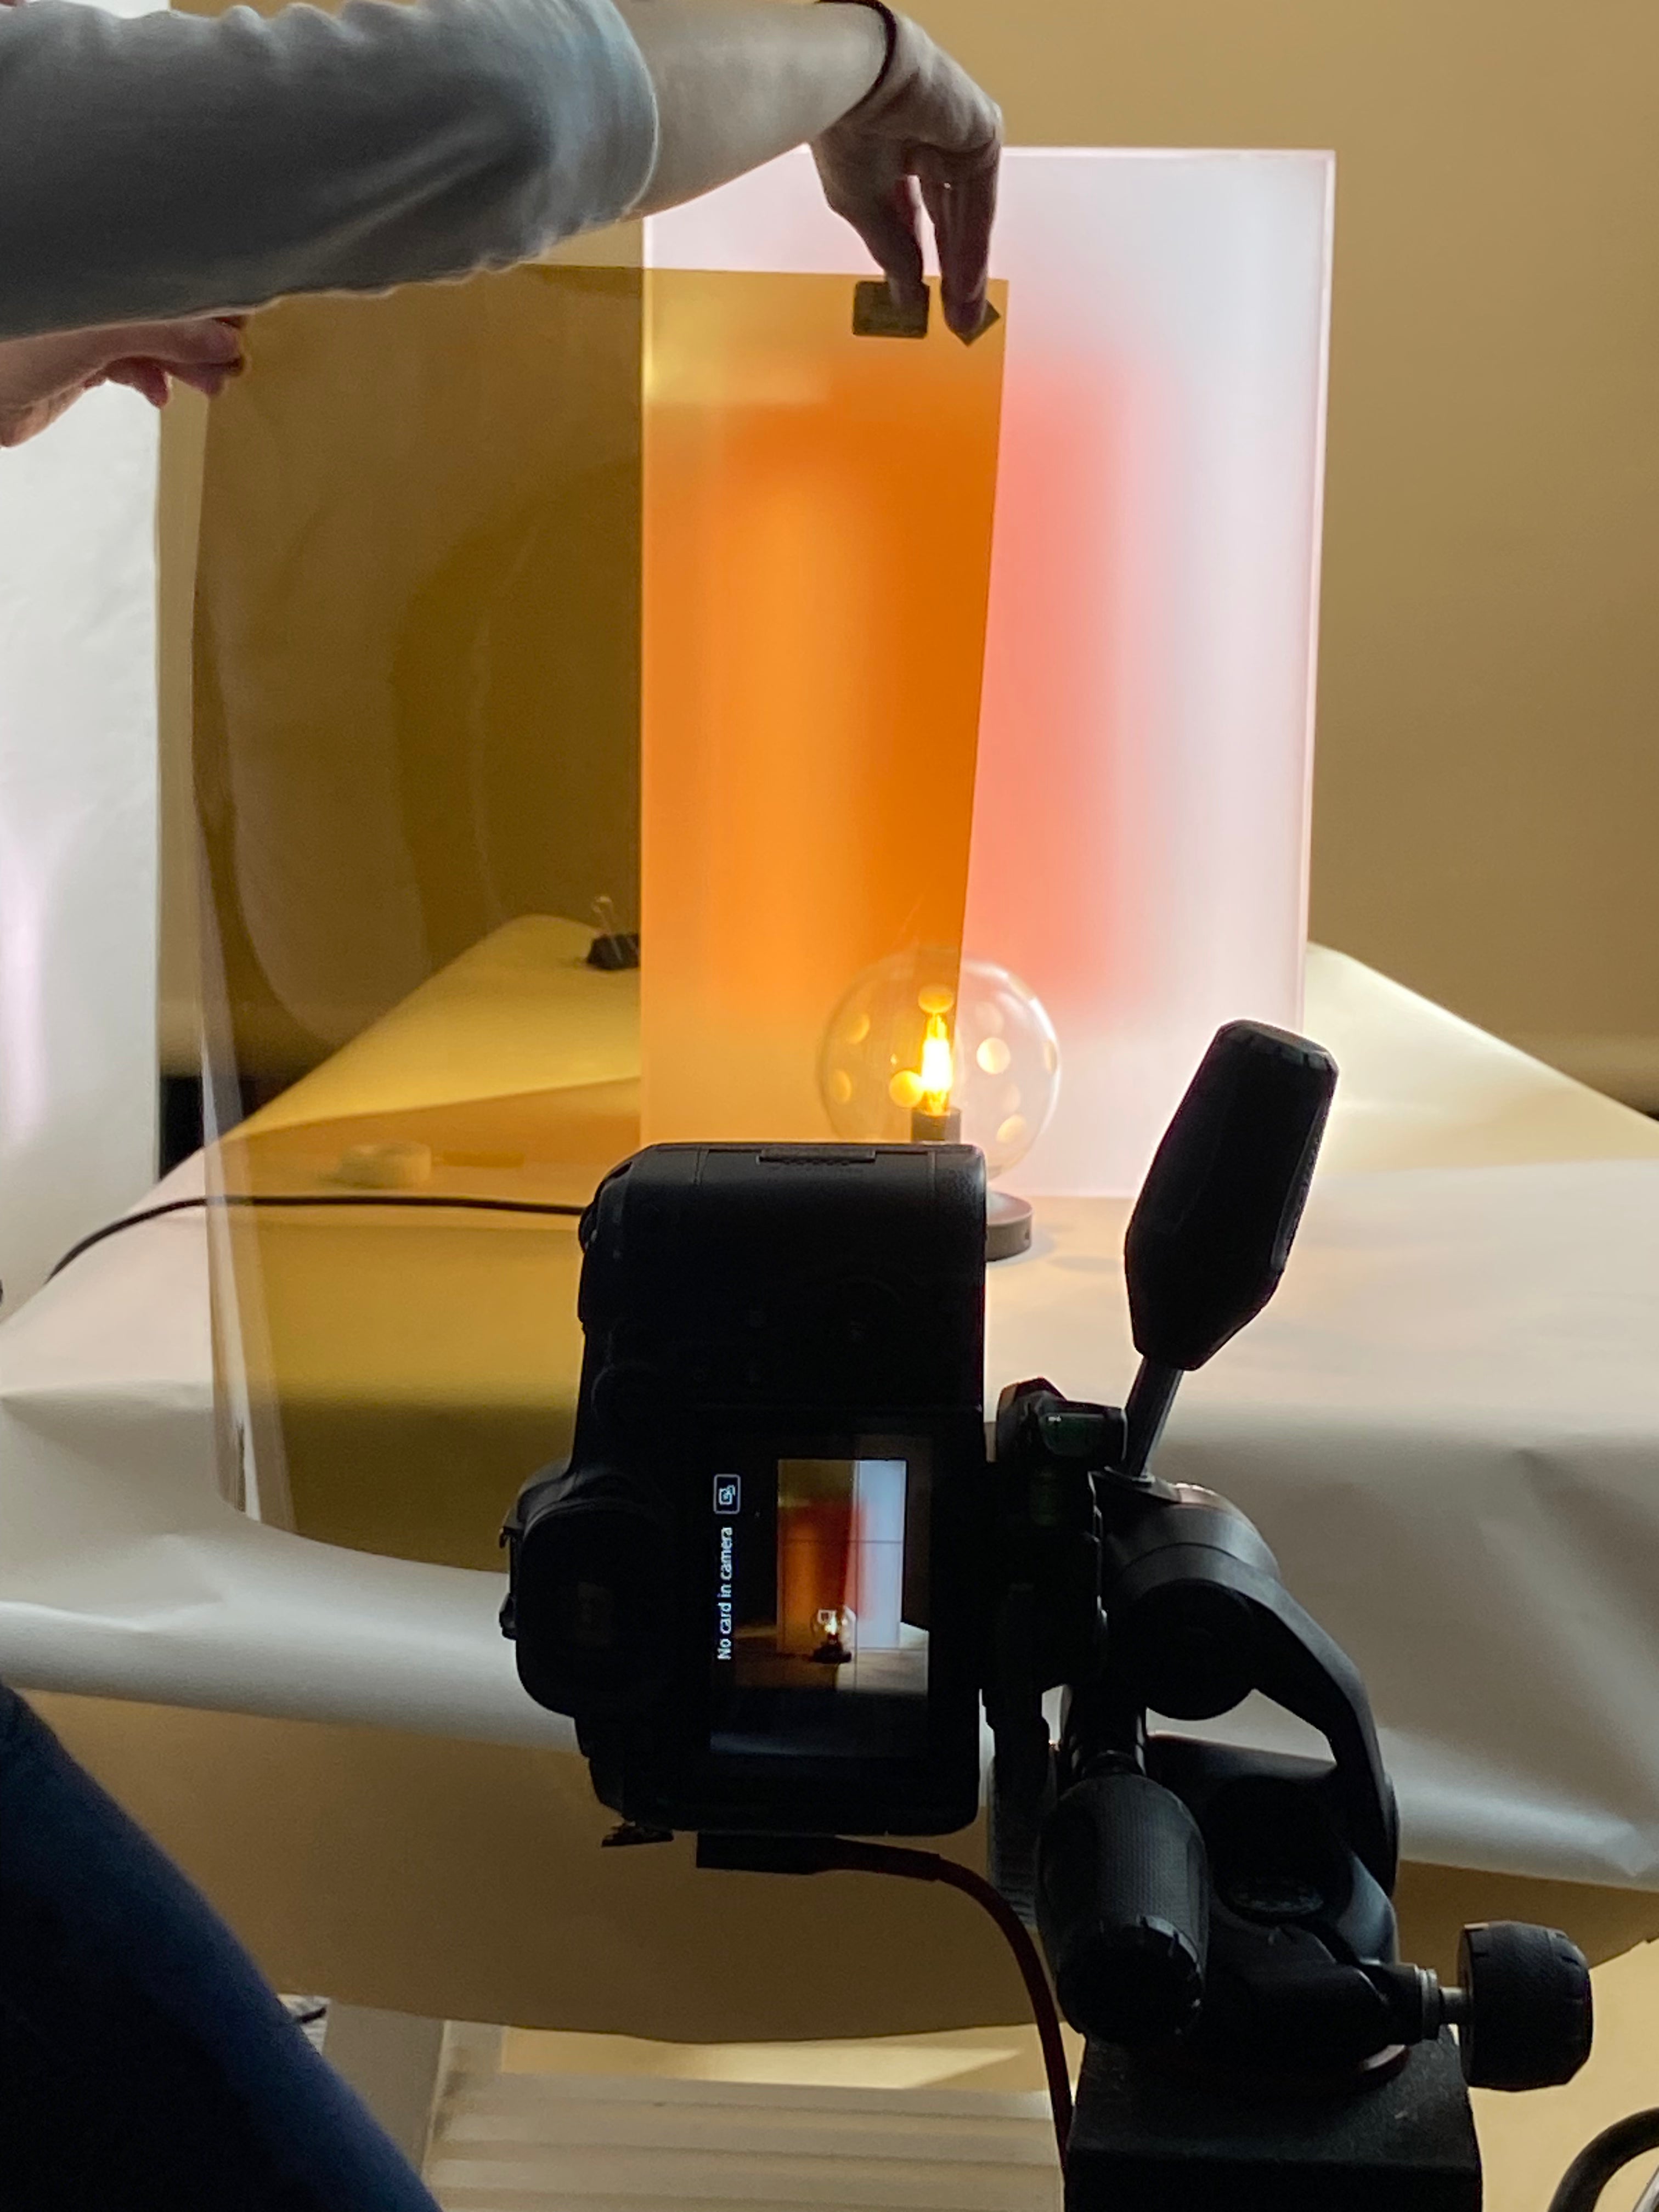
Behind the scenes
Shooting the collection
We shot the polka dot collection on a dark winter's day in East London. Simple sets, coloured gels, sheets of acrylic and acetate layered in and around the frame. The whole shoot was about experimenting – playing with texture, light and colour to see what the dots would do. Some of the best moments were complete accidents.